
Importance of Aluminum Checker Plate Toolbox Maintenance
Storing your tools is an essential part of keeping your workflow organized and your tools easily accessible. Efficiency is what you get from knowing where every tool in your toolbox is but there’s one thing that most people seem to undermine – maintenance. Organizing your tools and keeping a tidy toolbox prevents dents, sings, damage and rust from forming. This way you prolong the lifespan of the toolbox as well as the tools too. You also save time whenever you need to sue them as this way you don’t need to clean them every time you pick a tool form your toolbox. You can start working on whatever repair it is right away. No matter if you use your aluminum checker plate toolbox to store motorcycle tools or other vehicle-related tools you need to keep it clean.
Is Checker Plate Stronger Than Flat Steel
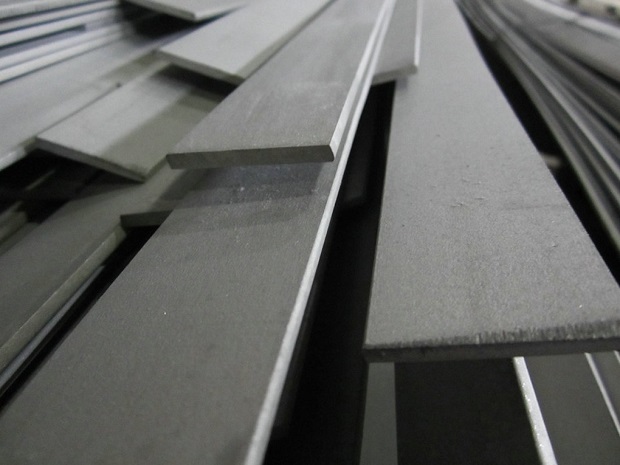
source: steelfabservices.com.au
While a checker toolbox is no harder or stronger than one made of a flat sheet of metal there are some advantages when it comes to convenience. While a checker plate toolbox looks better it also hides scratches better than a smooth alloy sheet. Checker plate toolboxes are also slip-resistant and a bit heavier than flat steel ones.
How to Clean Aluminum Checker Plate
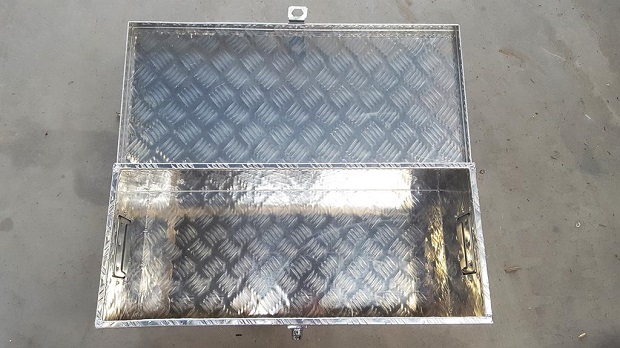
source: depot2u.co.uk
Cleaning
1. To keep that subtle shine visible on your aluminum checker plate toolbox you need to get rid of grime, stains, and dirt on a regular basis. To clean your checker plate toolbox you need to use a detergent or floor soap that isn’t too harsh. Test the cleaner on a corner or a small patch to see if it harms the metal.
2. Using a cleaner is more effective but it can also affect the condition of the toolbox over time. It’s best that you use some warm water and a towel as this helps preserve the finish. If you still want to use a cleaner, make sure its a non-detergent car wash soap as it is the least harmful.
Drying
Once you’ve rinsed the toolbox from the chemicals you’ve applied to its surface make sure to dry it off as soon as possible. This will prevent the cleaner from staining or degrading the material as the longer it stays on it the more it will eat away at the surface. Don’t let the toolbox air dry as this will leave water spots and mineral build-up. Get yourself a microfiber towel and wipe thoroughly. If there is grease or dirt still present clean and rinse the toolbox thoroughly once again.
How to Polish Aluminum Checker Plate
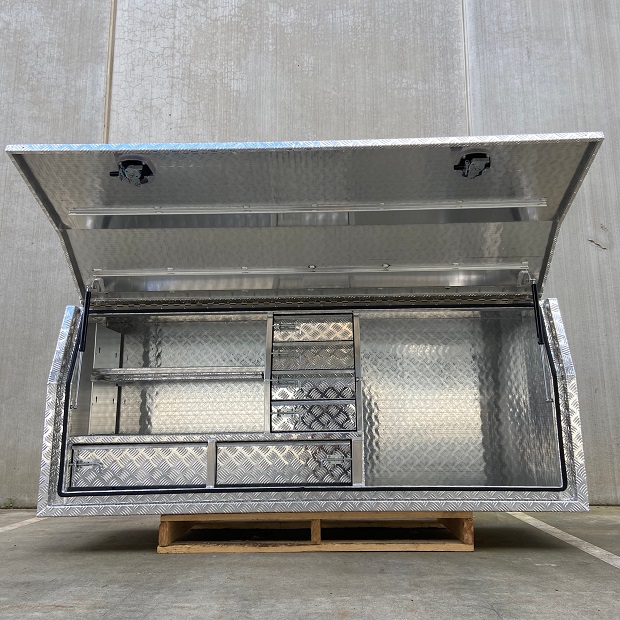
source: tcboxes.com.au
Prepare
To maintain the shine of your toolbox you also need to polish it with the right polishing compound. Since these are aluminum checker plate tool boxes we’re talking about you need to get an aluminum alloy polish, otherwise, you may end up damaging the surface of your toolbox. Get yourself either a clean microfiber cloth or a polishing wheel and some pads to apply the compound with.
Apply
1. To apply the polish you put some of it on the cloth or pad (depending on what you’re using) and start rubbing it in. If this is done by hand avoid going in circles as this will leave streaks. If you’re using a polishing wheel then make sure to apply the polish with the edge of the pad.
2. Applying the polish by hand will take you a lot longer and will require you to put a lot more effort while with a wheel you’ll be done way quicker. When you feel like the buffing isn’t as smooth add some polishing compound to the pad or cloth and continue buffing the polish in bit by bit. Once you’re done spray some window cleaner onto the toolbox and wipe off any leftover polish with a clean towel.
Painting an Aluminum Checker Plate Toolbox
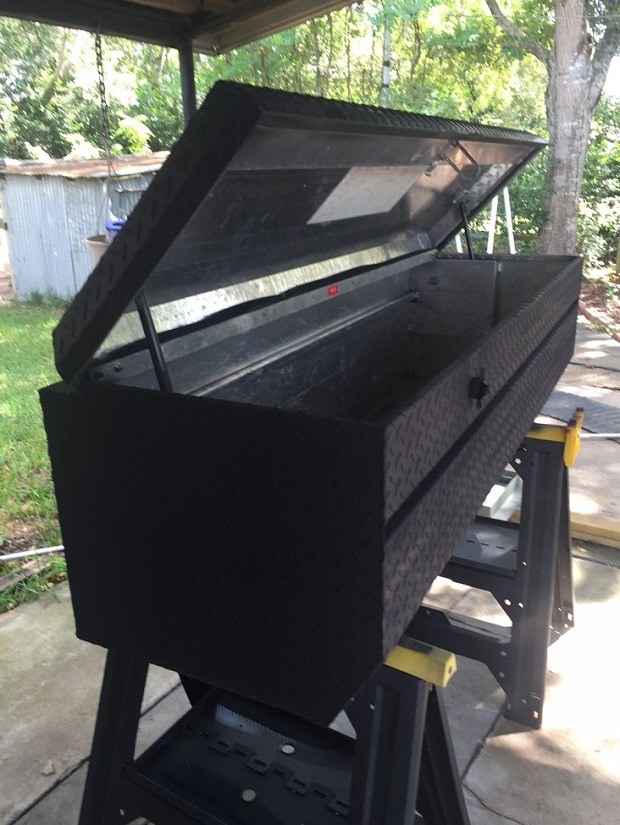
source: f150online.com
1. Start off by taking the tarnish off by using a toilet bowl cleaner to scrub it away. Rinse the toolbox and let it dry or you can dry it off yourself using a clean rag – just be thorough. When it’s completely dry spray the paint on the toolbox by starting from the upper left corner. Work your way down and across the lower right corner of the toolbox.
2. Once that’s done let the paint dry which can take about several hours. Go watch a movie or something in the meantime. When the first layer of paint has dried completely, add the second layer of paint the same way you applied the first one. This second layer will add brightness and durability to the painted toolbox. If you don’t like the checkered look and want to add some more protection to your toolbox covering it in paint is a great choice. When the second layer has dried off you can add in a third layer for even better protection but don’t go over adding more than 3 layers.

About Author
alex
?You can always edit a bad page. You can’t edit a blank page. Likes: ❤️ Beer ?, Pizza ? Dislikes:? Mice?, Barber ? Favorite song: ? Hurts - Wonderful Life